Traveling for plastic surgery abroad requires careful packing and planning. This article guides medical tourists through a focused hospital bag checklist: must-have documents, medications, recovery clothing, wound-care supplies, comfort items, and travel tips to minimize complications and stress. Use this checklist to arrive prepared, follow your surgeon’s instructions, and make recovery smoother from clinic discharge to your return home.
Pretrip Planning and Your Hospital Bag
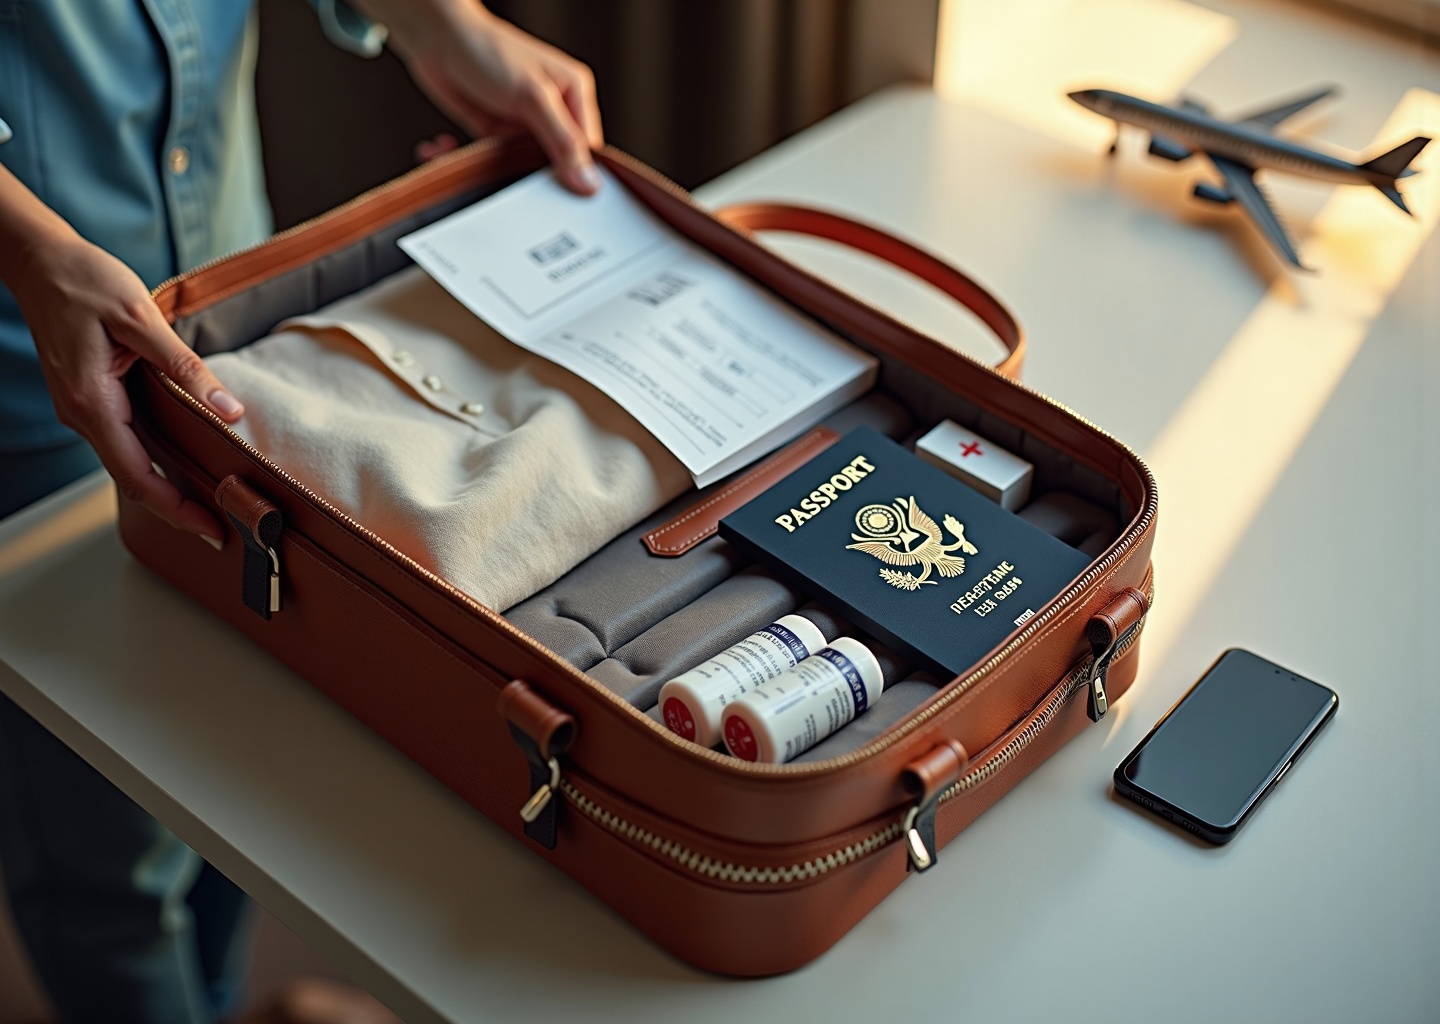
Once your travel documents and medical paperwork are in order, the next step is to pack your hospital bag. This isn’t just any trip; you’re packing for comfort, safety, and a smooth recovery. A well-prepared bag can significantly reduce stress, allowing you to focus entirely on your procedure and healing. Think of this bag as your recovery toolkit. Every item should serve a purpose, from the clothes you’ll wear home to the supplies that will make your first few days more manageable.
Clothing for Comfort and Convenience
Your post-surgery wardrobe is all about function. Mobility will be limited, and you’ll be dealing with swelling, bandages, and possibly drains. Choose items that are easy to put on and take off without straining your body.
- Loose, Front-Opening Tops.
Button-down or zip-front shirts, hoodies, and pajamas are non-negotiable, especially for breast, arm, or torso procedures. They eliminate the need to lift your arms over your head, which can be painful and disrupt incision sites. Pack at least two or three. - Roomy, Elastic-Waist Pants.
Think soft sweatpants, lounge pants, or loose-fitting joggers. You need bottoms that won’t constrict your abdomen or legs, particularly after procedures like an abdominoplasty or liposuction. Avoid anything with a tight waistband or drawstrings that could irritate incisions or get tangled in drains. - Procedure-Specific Underwear.
For an abdominoplasty, high-waisted, soft cotton briefs that sit well above the incision line are ideal. For other procedures, pack comfortable, seamless, full-coverage underwear that is a size larger than you normally wear to accommodate swelling. For procedures with significant drainage, mesh or disposable underwear can be a lifesaver for the first few days. - Slip-On, Non-Slip Footwear.
Bending over to tie shoes will likely be out of the question. Pack a pair of comfortable slip-on shoes with good grip for your trip home. For walking around the hospital or recovery center, non-slip socks or slippers are essential to prevent falls. - A Lightweight Robe.
A simple robe is perfect for wearing over your hospital gown, providing a bit of modesty and warmth when you need to walk the halls or for short trips to the restroom.
Medications and Medical Supplies
Managing your medications and medical supplies is a critical part of your recovery. Having everything organized and accessible is key. Always pack essential medications in your carry-on luggage to avoid issues with lost baggage.
- Prescribed Medications.
Bring all medications prescribed by your surgeon for post-op care, such as antibiotics and pain relievers. Keep them in their original, clearly labeled pharmacy bottles. This is a legal requirement for international travel, especially for controlled substances. Carry a copy of the prescription or a doctor’s letter explaining your need for them. - Spare Prescriptions.
Ask your doctor for a spare paper or digital copy of your essential prescriptions. In case your medications are lost or stolen, this can make getting a replacement abroad much easier. - Approved Over-the-Counter Items.
Check with your surgeon about which OTC items to bring. Common recommendations include a stool softener to counteract constipation from pain medication, anti-nausea medication, and perhaps acetaminophen for mild pain. Keep them in their original packaging. - Printed Medication Schedule.
Anesthesia can leave you feeling groggy. A printed schedule with medication names, dosages, and times will help you or your caregiver stay on track. Also include a comprehensive list of your allergies to medications and materials like latex or adhesives. - Compression Garments.
Your surgeon will specify the type and size of compression garment you need. It’s often recommended to purchase at least two so you can wear one while the other is being washed. Confirm this with your clinic well before you travel.
Wound and Drain Care
Your clinic will provide the initial dressings, but you may need additional supplies for your recovery at your hotel or rental. Ask your surgical team what they provide versus what you should bring.
- Basic Wound Care Supplies.
It can be helpful to have a small stock of sterile gauze pads, medical tape, and any specific ointments your surgeon recommends for minor dressing reinforcements. - Drain Management Tools.
If your procedure involves surgical drains, ask if you need to bring items like a lanyard, special belt, safety pins, or clips to secure the drain bulbs to your clothing. This prevents them from pulling on the insertion site. - Waterproof Pads.
Disposable waterproof underpads (often called Chux pads) are invaluable for protecting bedding and furniture from any potential fluid leakage from incision sites.
Comfort and Mobility Aids
Small comfort items can make a huge difference in your recovery experience. Your main goals will be resting comfortably and moving safely.
- Pillows for Support.
A travel neck pillow is incredibly versatile. You can use it to support your neck during travel, place it under your knees to relieve back pressure, or use it to prop yourself up in bed. Some people bring their own pillow from home for extra comfort (use a distinct pillowcase so it doesn’t get mixed up with hospital linens) or pack an inflatable wedge pillow. - Cold Packs.
Check with your clinic before using cold packs. If they approve, bring a few gel packs that can be kept in your hotel mini-fridge to help manage swelling and discomfort. - Compression Socks.
Essential for air travel to reduce the risk of deep vein thrombosis (DVT). Your surgeon may also recommend wearing them during your early recovery period to promote circulation. - Small Folding Cane.
Only if recommended by your surgeon. Some patients feel unsteady after anesthesia, and a cane can provide stability during early walks.
Hygiene and Toiletries
Hospital-provided toiletries are basic. Packing your own familiar items can help you feel more human during recovery. Keep everything travel-sized and simple.
- Gentle, Unscented Products.
Pack a gentle, fragrance-free soap or body wash, as your skin may be sensitive. Also include a toothbrush, toothpaste, deodorant, and a soft hairbrush. - No-Rinse Cleansing Wipes and Dry Shampoo.
Showering may be restricted for the first few days. Large, no-rinse body wipes and dry shampoo are excellent for staying fresh when you can’t get wet. - Essential Comforts.
Lip balm is a must; anesthesia and hospital air are very drying. Also pack any necessary menstrual products, as the stress of surgery can sometimes affect your cycle.
Technology and Communication
Staying connected is important for both practical reasons and emotional support. Ensure your devices are ready to go.
- Phone, Chargers, and a Portable Battery Pack.
Make sure your phone is fully charged before you leave for the hospital. Pack your charger, a long charging cable to easily reach your bed, and a portable battery pack as a backup for travel days. - Important Apps and Contacts.
Download any translation apps you might need ahead of time, along with offline language packs. If your clinic uses a specific telehealth app for follow-ups, make sure it’s installed and you know how to use it. Save your surgeon’s office number, the clinic coordinator’s number, and a local emergency number as favorites in your phone.
Valuables, Money, and Miscellaneous Items
Keep it simple. Leave expensive jewelry and large amounts of cash at home.
- Travel Wallet.
Keep your ID, a credit card, and a small amount of local currency for incidentals. Your main document folder should be packed securely in your carry-on. - Post-Op Snacks.
Pack a few bland, easy-to-digest snacks approved by your surgeon, like protein bars, crackers, or applesauce pouches. You may not feel up to a full meal right away. - Reusable Water Bottle with a Straw.
Staying hydrated is crucial for healing. A reusable bottle with a straw is often easiest to drink from while lying down. - Entertainment.
Download books, podcasts, or movies onto a tablet or your phone. You’ll have a lot of downtime. - Sleep Aids.
A sleep mask and earplugs can help you rest in a bright or noisy hospital environment.
A Quick Pre-Flight Checklist for a Safer Journey
On your flight to the surgical destination, your goal is to arrive rested and healthy.
- Wear your compression socks.
- Choose an aisle seat if possible for easier access to the restroom and for stretching.
- Stay hydrated by drinking plenty of water and avoiding alcohol and caffeine.
- Get up and walk the aisle every hour or so, if cleared by your doctor.
- Perform simple in-seat exercises like ankle circles and calf raises to keep blood flowing.
Frequently Asked Questions About Packing and Travel Recovery
When should I start packing, and what absolutely must be in my carry-on bag?
Think of your carry-on as your post-op lifeline. Start gathering items about two weeks before your flight, but pack your final carry-on bag 24 to 48 hours before you leave. This bag should contain everything you cannot afford to lose or be without for the first 48 hours after your surgery. Assume your checked luggage will get delayed. Your carry-on must include
- All your prescribed medications in their original, labeled bottles.
- Printed copies of your prescriptions and a letter from your surgeon.
- Your essential documents folder containing your passport, ID, flight details, accommodation confirmation, and all paperwork from the clinic.
- A complete, comfortable outfit for your trip home. This means a zip or button-front top, loose-fitting pants, and slip-on shoes.
- Your primary compression garment. If your luggage is lost, this is the one item that is nearly impossible to replace quickly.
- Your phone, a portable battery pack, and all necessary chargers and adapters.
- Compression socks to wear on the plane.
Packing this way removes a huge amount of stress. If your main suitcase takes a scenic detour, you will still have every critical item needed for your immediate safety and recovery.
What are the rules for liquids and medications at airport security?
Navigating airport security with medical supplies is straightforward if you’re prepared. For most toiletries, the standard 3-1-1 rule applies, meaning containers must be 3.4 ounces (100 milliliters) or less and fit in a single quart-sized bag. However, medically necessary liquids, gels, and creams are exempt from this size limit. This includes prescription creams, sterile saline, or other required medical liquids. To ensure a smooth process, you must declare these items to the security officers at the checkpoint. Don’t just send them through the scanner. Keep all medications in their original pharmacy containers with clear labels. It’s also wise to carry a printed copy of your prescription and a doctor’s note explaining their necessity. This documentation provides clarity and can speed up any secondary screening process.
When is it actually safe to fly home after surgery?
This is one of the most critical questions, and the only correct answer comes directly from your surgeon. Your clearance to fly is a medical decision based on your specific procedure, your personal health, and your recovery progress. However, there are general timeframes surgeons often recommend. For short-haul flights (under 4 hours), many surgeons suggest waiting at least 7 to 10 days after major procedures like a tummy tuck or mommy makeover. For long-haul flights, the recommendation is often a minimum of 10 to 14 days, sometimes longer. The primary concern is the risk of Deep Vein Thrombosis (DVT), a serious condition where blood clots form in the deep veins of the legs. The risk is elevated after surgery and during long periods of immobility, like a flight. To minimize your risk, you must follow DVT prevention measures. Wear your compression stockings, stay well-hydrated with water, avoid alcohol, and move as much as possible. Get up to walk the aisle every hour, and when seated, perform frequent calf pumps and ankle rotations. If you experience sudden swelling, pain, warmth, or redness in one leg, you must seek immediate medical attention.
Do I need to bring my own compression garments? And how many?
You must clarify this with your clinic well in advance. Some surgical packages include the first compression garment, while others require you to purchase your own based on the surgeon’s specific recommendations. Regardless of who provides the first one, you should plan on having at least two sets. Compression garments are typically worn 24/7 for several weeks, so having a second set is essential for hygiene. You can wear one while the other is being washed and dried. When purchasing, ensure you are professionally sized, as a poor fit can be ineffective or even harmful. Order them with plenty of time to spare before your trip. Pack one garment in your carry-on and the spare in your checked luggage.
How are surgical drains and dressing supplies handled?
Your clinic will provide all necessary supplies for managing drains and dressings during your immediate post-op stay. Before you are discharged, a nurse should give you a thorough demonstration on how to empty and record drain output and how to perform any simple dressing changes. Ask your clinic what supplies, if any, you will need to have at your hotel or recovery accommodation. They will likely send you home with enough for the first few days, but you may need to purchase extras like sterile gauze, medical tape, or disposable waterproof pads to protect your bedding. Get a specific list from your clinic so you can either pack these items or know what to buy locally.
How do I travel internationally with controlled pain medications?
This requires careful planning, as regulations vary drastically between countries. Failure to comply can have serious legal consequences. First, keep all medications in their original pharmacy bottles with the prescription label intact. You must carry a copy of the official prescription and, crucially, a signed letter from your surgeon on their official letterhead. This letter should detail the medication, your medical condition, the dosage, and the total quantity you are carrying. Before you travel, research the laws of your destination country regarding your specific medications. Some countries have strict prohibitions on certain narcotics or psychotropic drugs. Always declare your medications to customs officials. Transparency is non-negotiable.
Is travel insurance really necessary, and what should it cover?
Yes, it is absolutely essential, but not just any policy will do. Standard travel insurance policies almost always exclude complications from elective medical procedures. You need to purchase a specialized medical travel insurance policy. When vetting policies, confirm in writing that it specifically covers complications arising from your planned cosmetic surgery. The policy should include coverage for emergency medical care, additional hospitalization costs, trip interruption benefits (like extra hotel nights if you are medically unable to fly home on schedule), and, in a worst-case scenario, medical evacuation. Read the fine print and understand the claim process before you buy.
What should I do if a complication occurs?
Your clinic should provide you with a detailed emergency plan and a 24/7 contact number. If you experience a potential complication while still abroad, contact your surgeon’s team immediately. They will assess the situation and direct you to the appropriate level of care, whether it’s returning to the clinic or going to a local emergency room. If a complication arises after you have returned home, your first call should still be to your surgeon abroad. They can provide guidance via telehealth and may coordinate with your primary care physician. For any serious symptoms like a high fever, uncontrolled bleeding, shortness of breath, or signs of a DVT, do not delay. Go to your local emergency room and be prepared to provide them with all your surgical documents.
Can my family or a caregiver come with me? What should they pack?
Bringing a trusted caregiver is not just a good idea; it’s often a requirement by the surgical clinic, especially for the first 24 to 72 hours post-op. This person is your advocate and support system. For their own packing, they should bring comfortable clothes, any personal medications, and items to keep them occupied during your surgery, like a book or tablet. It’s practical for them to carry a small bag with snacks, a water bottle, and a portable charger. Most importantly, they should have a notebook to write down the surgeon’s post-op instructions, as you may be groggy from anesthesia. They should also have a copy of your documents and a list of your emergency contacts.
Final Recommendations and Next Steps
You’ve absorbed a lot of information, and now it’s time to translate that knowledge into action. The final stretch before your surgery is about methodical preparation, not last-minute scrambling. Think of this phase as building a foundation for a smooth and stress-free recovery. Your primary goals are simple. Finalize all your essential documents and create secure digital backups. Confirm every detail about your prescriptions and compression garments directly with your surgeon’s office. Pack a meticulously organized carry-on bag that contains everything you’ll need for the first 24 to 48 hours after your procedure. Lock in your ground transportation and ensure your accommodation is confirmed and conveniently located near your clinic. And most importantly, secure comprehensive travel medical insurance that explicitly covers complications arising from elective surgery. Getting these five pillars in place will allow you to travel with the confidence that you’ve controlled everything within your power.
To help you manage these final steps without feeling overwhelmed, here is a simple timeline. This checklist breaks down your tasks into manageable blocks, guiding you from two weeks out right up to the day you leave.
Your Final Countdown Checklist
Two Weeks Before Departure
This is your window for finalizing logistics. Focus on tasks that require processing time or back-and-forth communication. Your goal is to have all major arrangements locked in, eliminating any big question marks.
- Finalize All Documents. Gather your passport, visa, driver’s license, and any other required identification. Make high-quality photocopies and take clear digital photos or scans. Save the digital copies to a secure cloud service like Google Drive or Dropbox and also on a USB flash drive. Email a copy to a trusted contact back home.
- Purchase Travel Medical Insurance. This is non-negotiable. Scrutinize the policy to ensure it does not have an exclusion for elective cosmetic procedures. You need coverage for surgical complications, emergency medical evacuation, and trip interruption. Print the policy details and save the emergency contact number in your phone.
- Confirm Surgical and Travel Details. Double-check your flight itineraries, hotel or recovery house reservations, and pre-arranged transportation from the airport. Confirm your surgery date, time, and arrival instructions with the clinic’s coordinator. Ask for the name and direct contact number of the person you should call upon arrival.
- Verify Prescriptions. Speak directly with your surgeon’s office to confirm all pre-operative and post-operative medications. Ask them to send the prescriptions to your pharmacy or provide you with written copies. Discuss the plan for pain management and inquire about prescriptions for anti-nausea medication and stool softeners, which are often necessary after anesthesia and with pain medication.
- Order and Fit Compression Garments. If you are required to purchase your own compression garments, order them now. This gives you time for shipping and to try them on. Ensure the fit is snug but not constricting. You want proper support without compromising circulation. Confirm with your surgeon how many sets you should bring; having at least two is often recommended for hygiene.
72 Hours Before Departure
Now the focus shifts to packing and immediate pre-travel preparations. This is about organizing what you have and getting everything physically ready to go. Your home should be prepared for your absence and your bags should be nearly complete.
- Pack Your Checked Luggage. Lay out all the clothing, extra supplies, and comfort items you plan to take. Pack your spare compression garments, comfortable loungewear, extra pillows, and any non-essential toiletries in your checked bag. Use packing cubes to keep things organized. Weigh your bag to ensure it meets airline limits.
- Prepare Your Carry-On Bag. This bag is your lifeline. It must contain all critical items. Pack your document folder, all medications in their original prescription bottles, a change of comfortable, loose-fitting clothes (zip-up or button-front top), your phone, chargers, a portable battery pack, and essential toiletries. Do not put medications in your checked luggage.
- Handle Financials. Notify your bank and credit card companies of your travel dates and destination to prevent your cards from being frozen. Withdraw a small amount of local currency for incidentals like tips or snacks. Confirm you have a credit card with a sufficient limit for any unexpected expenses.
- Set Up Communication. Designate one person at home as your primary contact. Share your complete itinerary with them, including flight numbers, accommodation details, and the clinic’s contact information. Set up a daily check-in time.
- Prepare Your Home. Tidy up, do laundry, and change your bed linens. A clean, calm environment will be a welcome sight when you return. Prepare some simple, pre-made meals and freeze them for your first few days back.
24 Hours Before Departure
This is the final check. The goal is to rest, hydrate, and ensure every last detail is in place. Avoid stress and strenuous activity. Your job now is to get yourself to your destination safely and calmly.
- Final Bag Check. Do one last review of your carry-on bag. Are your passport and documents easily accessible? Are all your medications accounted for? Is your phone fully charged?
- Confirm Flight and Transportation. Check in for your flight online and confirm there are no delays. Reconfirm your pre-arranged car service or transportation for when you land.
- Hydrate and Eat Well. Drink plenty of water throughout the day. Eat a nourishing, easily digestible meal. Avoid alcohol and heavy, greasy foods that could cause discomfort during travel.
- Review Pre-Op Instructions. Read your surgeon’s instructions one more time, paying close attention to rules about eating, drinking, and taking medications before your surgery. Set an alarm if you need to stop eating or drinking at a specific time.
- Get a Good Night’s Sleep. Rest is crucial. Put away your phone, turn off the television, and aim for a full night of restful sleep. Your body and mind will thank you for it.
As you complete this checklist, remember that safety is woven into every step. Following your surgeon’s instructions to the letter is your most important responsibility. This is not the time for improvisation or last-minute changes to your medication or pre-op routine. Plan your flight timing carefully, especially your return trip. Discuss DVT prevention with your surgeon and be diligent about wearing compression socks, staying hydrated, and moving around as much as is safely possible during your flight. Keep your at-home contact updated on your progress, from landing safely to arriving at your hotel and checking in at the clinic.
Finally, remember that this guide is a comprehensive template, not a rigid script. Your specific procedure, whether it’s a rhinoplasty or a tummy tuck, will have unique requirements. Your personal health history also plays a significant role. Use this information as a starting point and customize it to fit your journey. If any question, no matter how small, arises in these final days, do not hesitate to contact your surgical team. Their job is to ensure you are prepared and confident. A clear mind is the best travel companion you can have.
References
- Hospital Bag Checklist for Plastic Surgery | The Aesthetic Society
- The art of packing for a plastic surgery procedure | ASPS
- Packing for Hospital for Major Cosmetic Surgery
- Checklist for Out-of-Town Patients: Preparing for Your Plastic …
- What to Bring for Your Hospital Stay | NYU Langone Health
- Packing list – Surgery – Children’s Minnesota
- What to Pack in Your Hospital Bag for Your Plastic Surgery Procedure
- What to Bring for Liposuction: Pre-Op Packing List and Day-of …
Legal Disclaimers & Brand Notices
The content provided in this article is for informational purposes only and is intended to serve as a general guide for travel and preparation related to aesthetic procedures. It is not a substitute for professional medical advice, diagnosis, or treatment from a qualified healthcare provider.
Always seek the advice of your surgeon or other qualified health provider with any questions you may have regarding a medical condition, procedure, recovery, or the use of medications and supplies. Never disregard professional medical advice or delay in seeking it because of something you have read in this article.
All product names, logos, and brands mentioned in this article, or implied through discussion of general medical supplies, are the property of their respective owners.